Before You Begin
You’ll need Zendesk Admin access to complete these steps.
Step 1. Create an OAuth Client in Zendesk
- Log in to your Zendesk account.
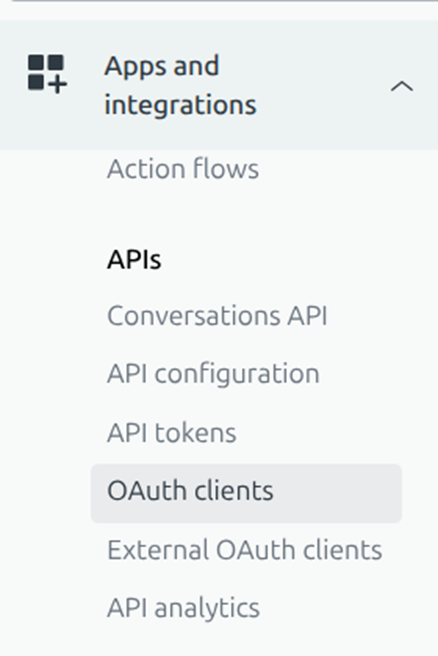
- Go to: Admin Center → Apps and Integrations → OAuth Clients
- Click Add OAuth Client.
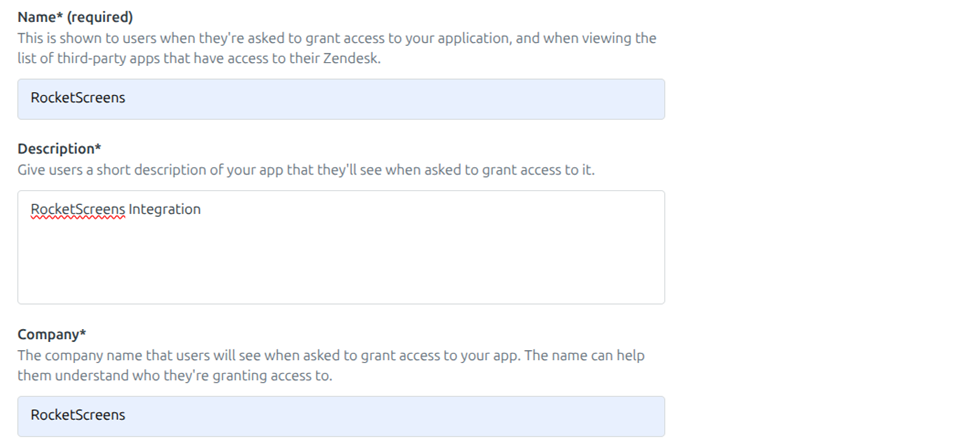
- Enter the following required fields:
Field
Value
Client Name
RocketScreens
Description
RocketScreens Integration or any note you want to add for yourself.
Company
RocketScreens
Unique Identifier
rocketscreens
Client kind
Confidential
Redirect URLs
https://app.rocketscreens.com/zendesk/authorize/
You only need to do this once for your Zendesk account.

5. Click Save.
Step 2. Connect Zendesk Inside RocketScreens
- Open the RocketScreens CMS.
- Navigate to Integrations.
- Find Zendesk and click Integrate.
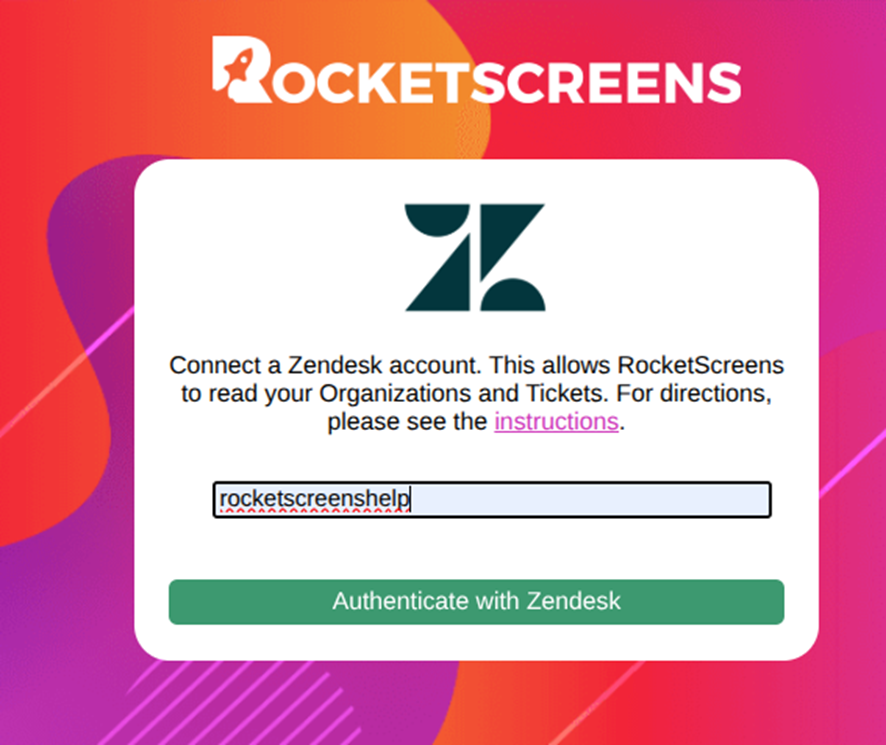
- Enter the Subdomain: e.g., yourcompany (only the name, not the full URL https://yourcompany.zendesk.com/admin/apps-integrations/apis/oauth-clients/)
- Click Authenticate with Zendesk.
RocketScreens will now redirect you to Zendesk.
Step 3. Approve the Zendesk Authorization
You will see a page asking you to allow RocketScreens to access your Zendesk data.
- Review the permissions.
- Click Allow.
If successful, RocketScreens will confirm the integration is connected.
Step 4. Displaying Your Zendesk Tickets on a TV
Now that your integration is active:
- Go to Apps in RocketScreens.
- Click New App.
- Search for Zendesk Support Tickets.
- Select:
- Your Zendesk Integration
- Select the Organization, Type and Status you want to show

- Choose duration (default 15 seconds).
- Save the app.
- Add it to a Channel and assign it to your TV or Player.
Your Zendesk tickets will now display automatically on your screens