1. Create a new "Zapier Events" App
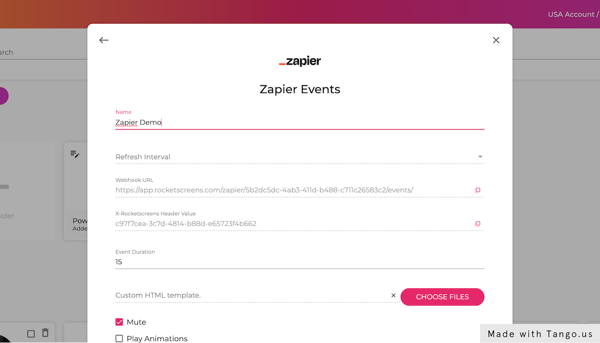
2. Copy the "Webhook URL" field
3. Copy the "Header value" field
4. Click Save
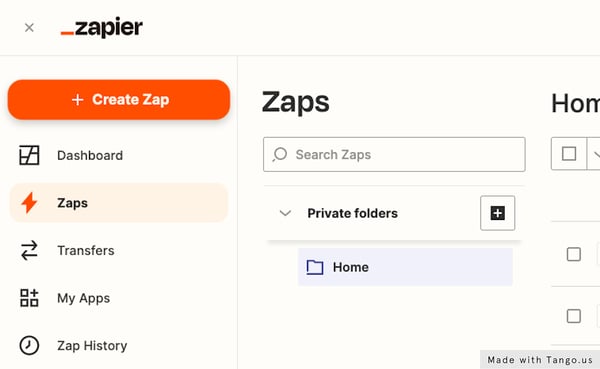
5. Go to Zapier
6. Click on Create Zap
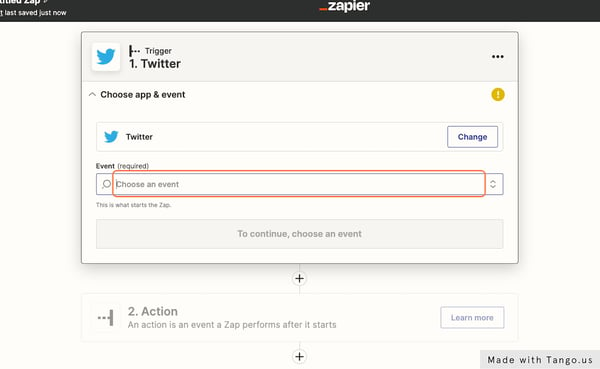
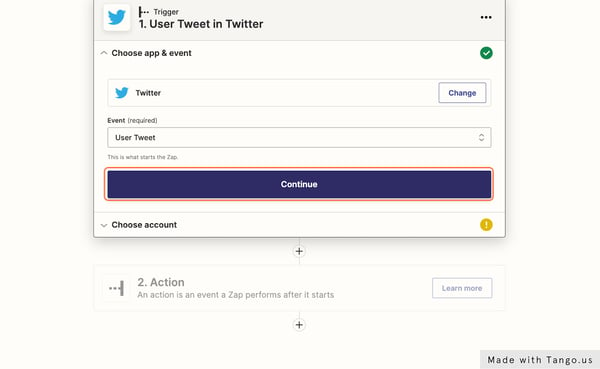
7. For this example, we'll use Twitter as a trigger. This could be any other Trigger you like.

8. Click on Event…
9. Click an Event
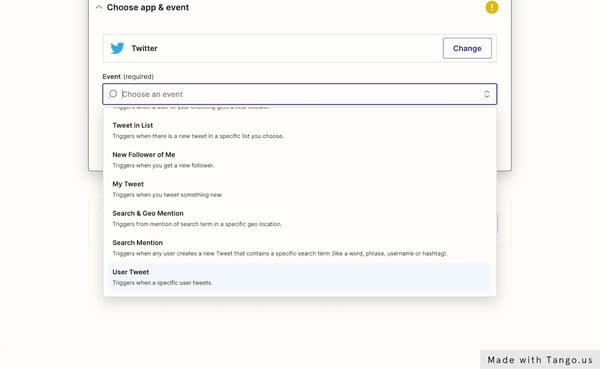
10. Click on Continue
11. Click on Choose an account…
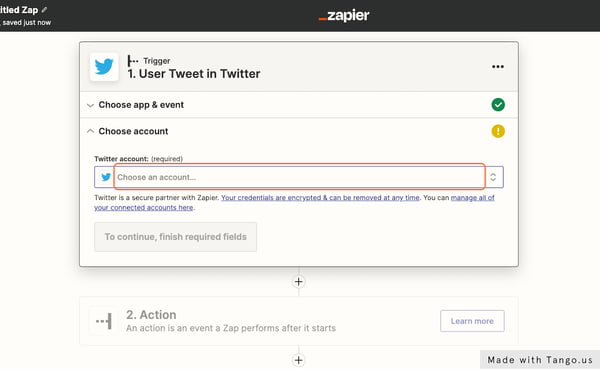
12. Provide the required fields
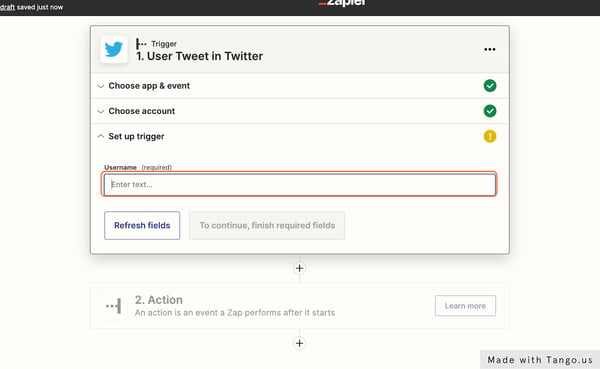
13. Click on Continue
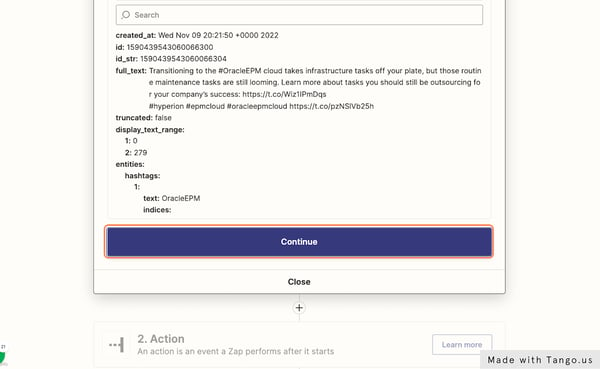
14. Click Test and then Click on Continue
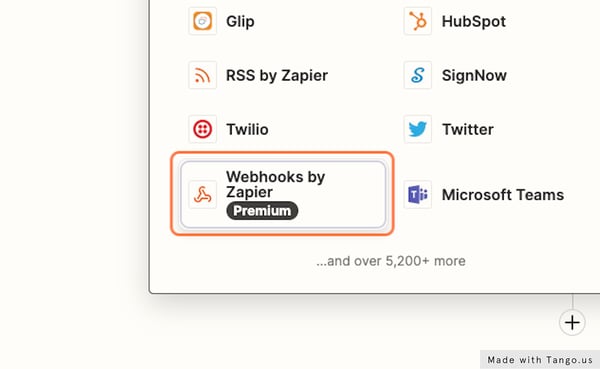
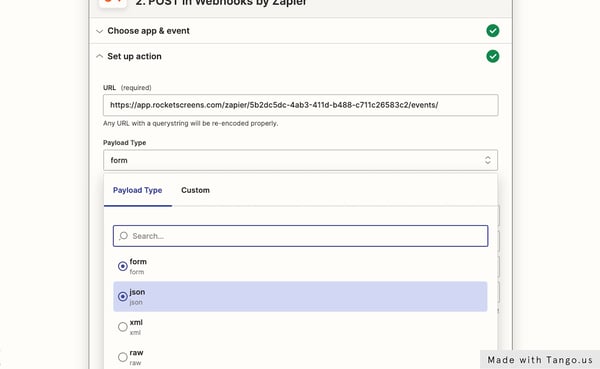
15. Click on Webhooks by Zapier…
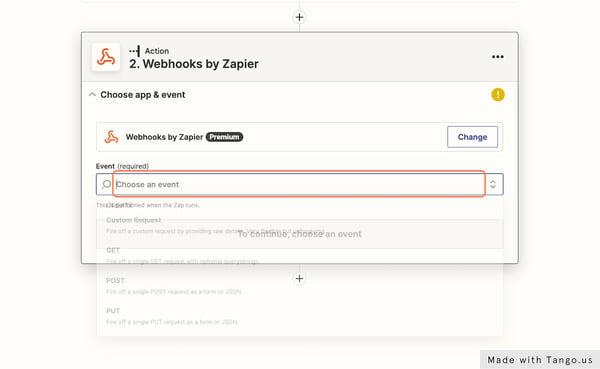
16. Click on Event…
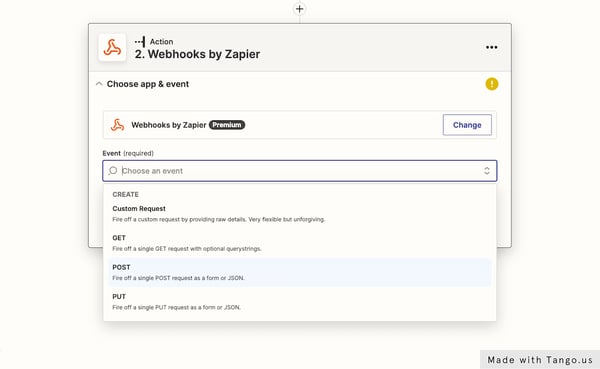
17. Select POST
18. Enter the previously copied Webhook URL into the URL field
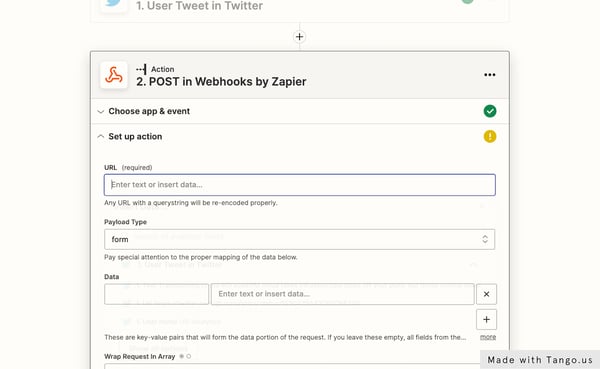
19. Set the Payload Type to "json"
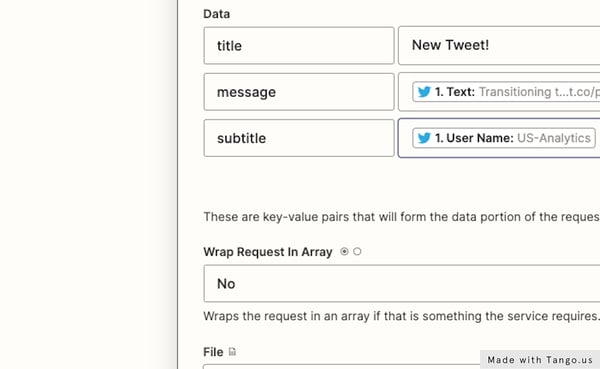
20. Add some fields to the data block

21. Type "title". The value of this will display as a header in the App.
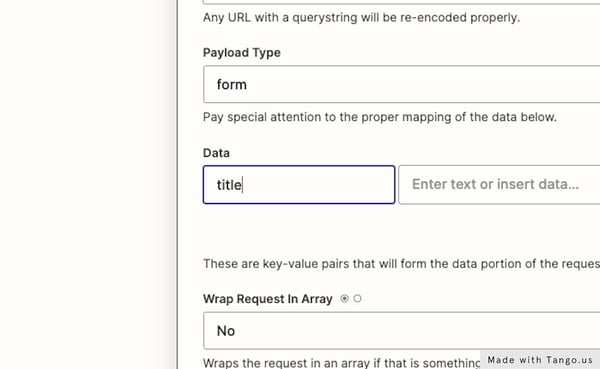
22. Click on Data
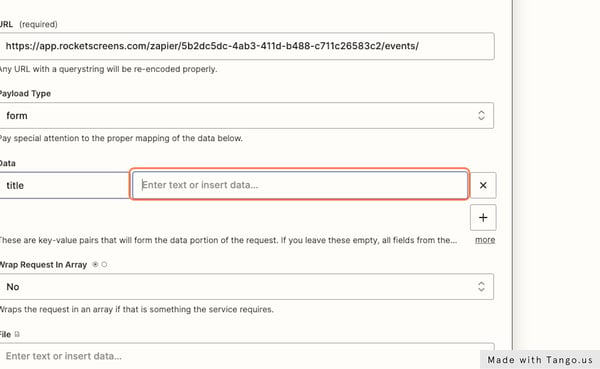
23. Type in a constant value, or use data from your trigger.
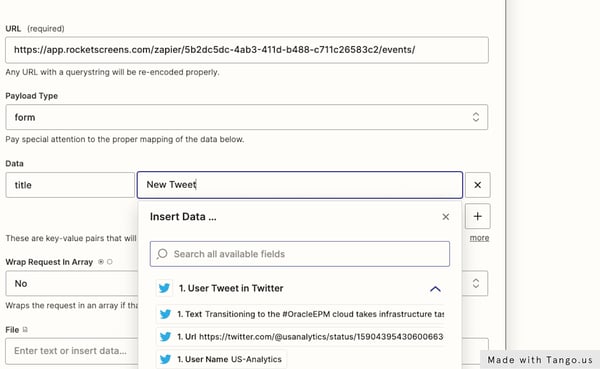
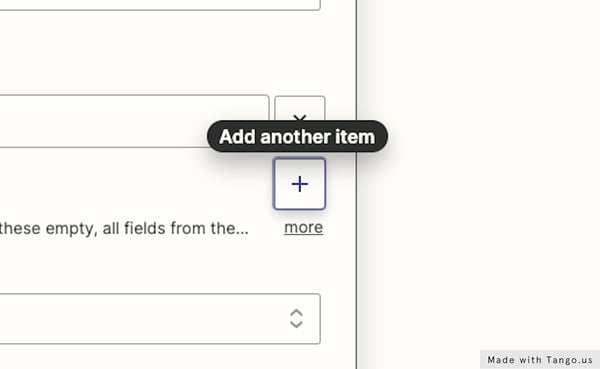
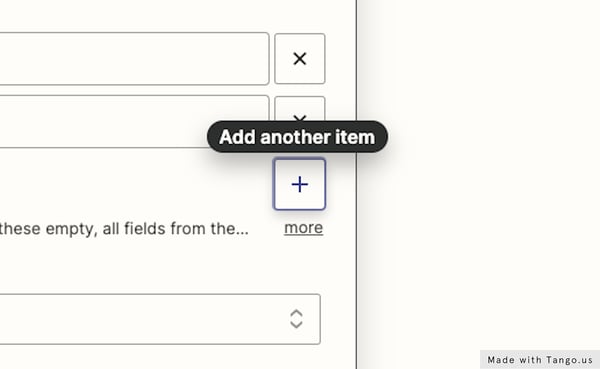
24. Click on Add another item
25. Type "message". This field will display a block of text and fit it to the screen.
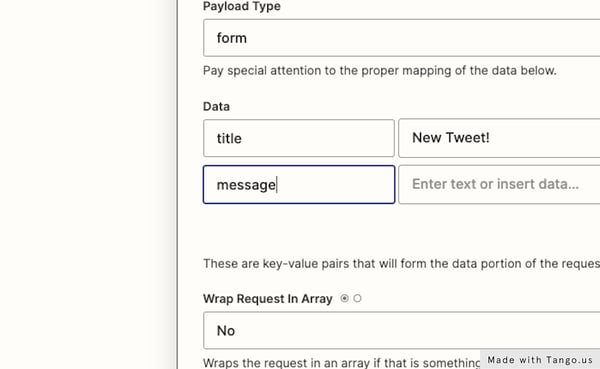
26. Click on Data
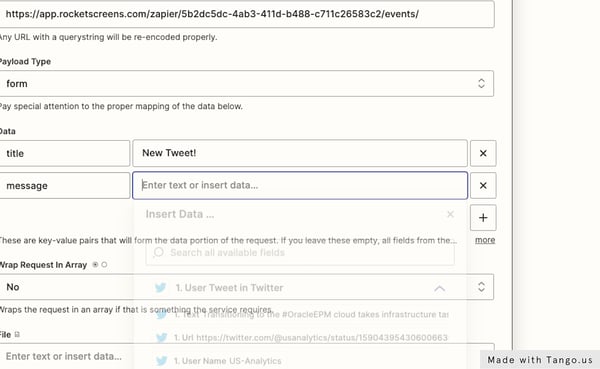
27. Select the field you want from your trigger. In this case, we used the Text field.
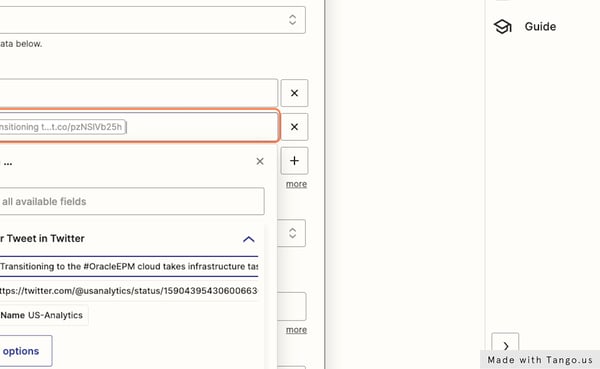
28. Add another item
29. Type "subtitle". This will display a small message under the message body.
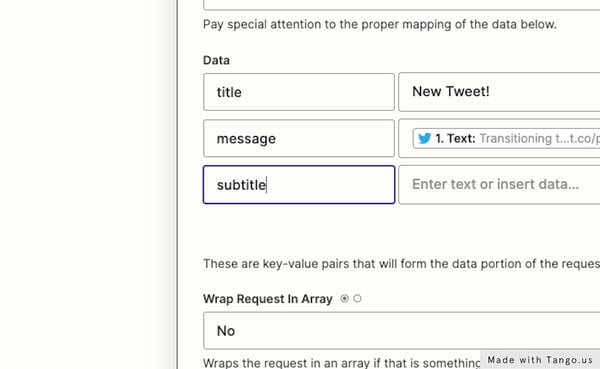
30. Click on Data
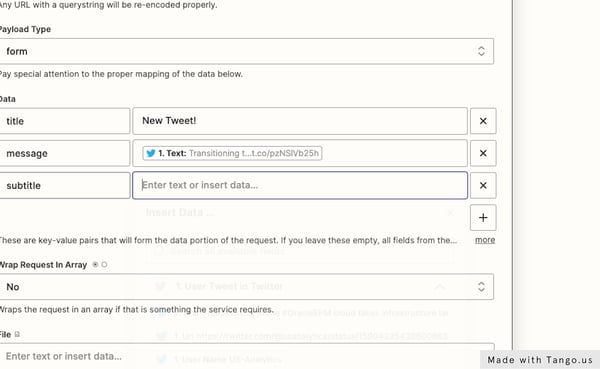
31. In this case, we'll display the User Name
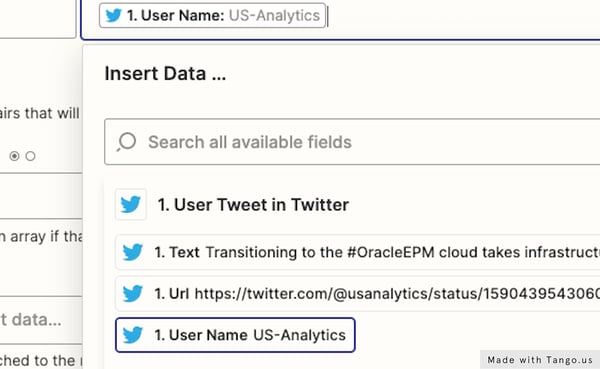
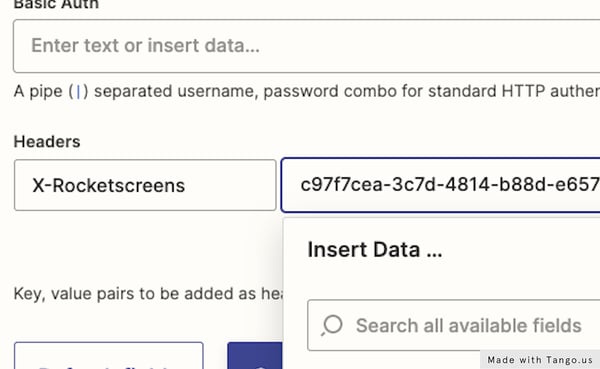
32. Move to the Headers section
33. Type "X-Rocketscreens"

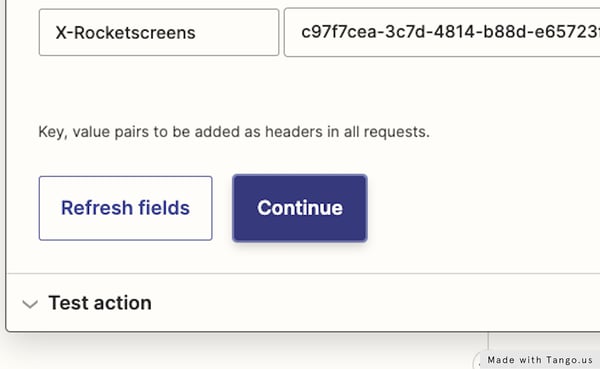
34. Set the header value as the RocketScreens secret provided
35. Click on Continue
36. Click on Test action
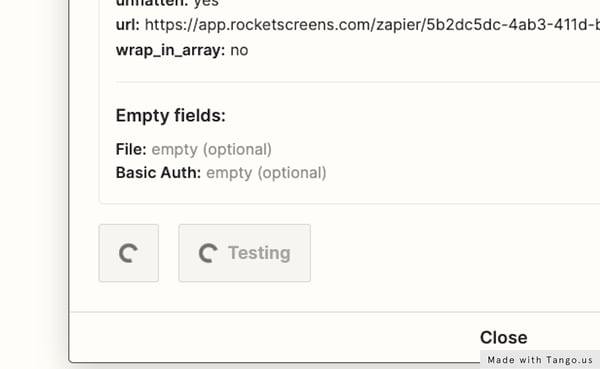
37. It should indicate a success. You can now preview the App in RocketScreens to see the full display.